Apache Kafka Installation on Windows: This step-by-step guide will walk you through installing Apache Kafka 3.9.1 using the classic setup (with Zookeeper), creating topics, and running Kafka CLI commands to produce and consume messages.
Table of Contents
What Will You Learn?
- How to install Kafka 3.9.1 on Windows
- Start Zookeeper and Kafka brokers
- Create topics using the CLI
- Send and read messages via the Command Prompt
- Common issues and how to fix them
📝 Note: Kafka 4.x now supports KRaft mode (Zookeeper-less), but in this guide, we will use the classic Zookeeper-based setup, which is still widely used in production and tutorials.
Prerequisites
Make sure you have the following installed:
| Tool & Software | Version |
|---|---|
| Java JDK | 11+ |
| Command Prompt | Built-in |
| 7-Zip or WinRAR | Latest |
Step 1: Download Apache Kafka 3.9.1
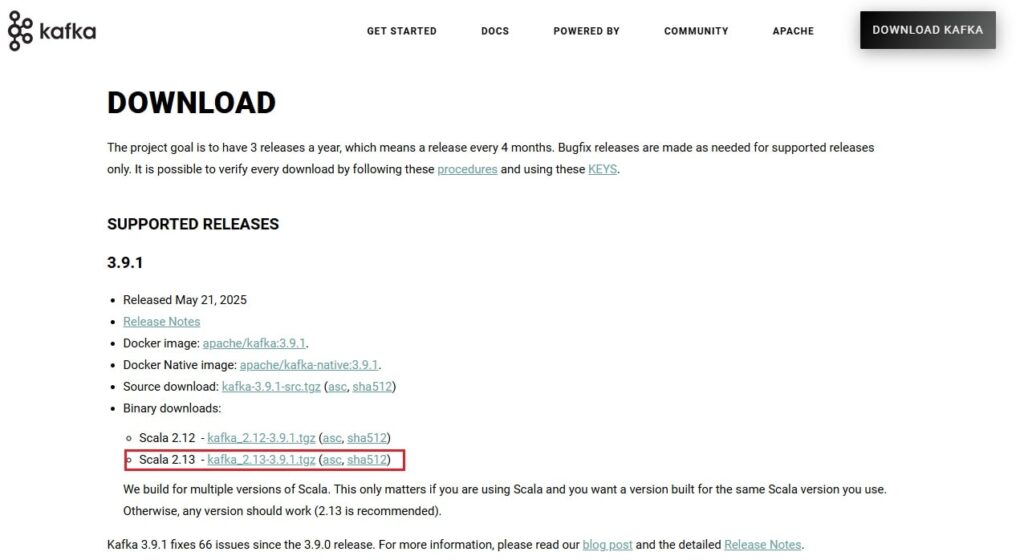
Go to the official Apache Kafka downloads page. Download the Kafka 3.9.1 binary built with Scala 2.13: kafka_2.13-3.9.1.tgz
Once you click on the download link, you can see the download progress like the image below:
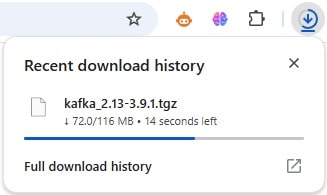
After a successful download, you can see it in your Windows Downloads folder:

Step 2: Extract the kafka_2.13-3.9.1.tgz
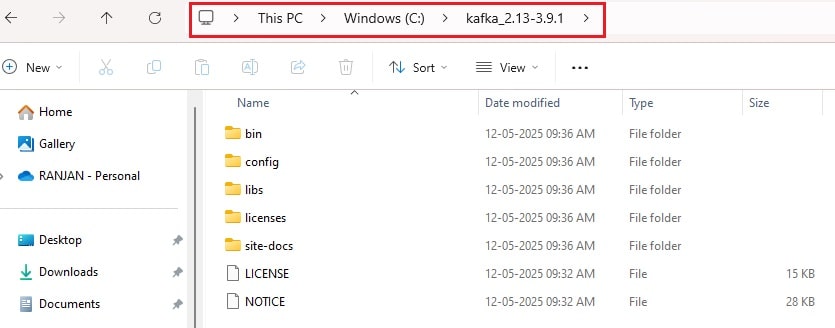
Extract the downloaded file kafka_2.13-3.9.1.tgz to any directory on your computer (eg, C:\kafka_2.13-3.9.1). After extraction, your folder should look like the image below:
Step 3: Start Zookeeper & Kafka Server
Open a Command Prompt and navigate to the Kafka home directory. For example, in our case, it is C:\kafka_2.13-3.9.1
Step 3.1: Start Zookeeper first
Execute the following command to start the zookeeper server:
bin\windows\zookeeper-server-start.bat config\zookeeper.properties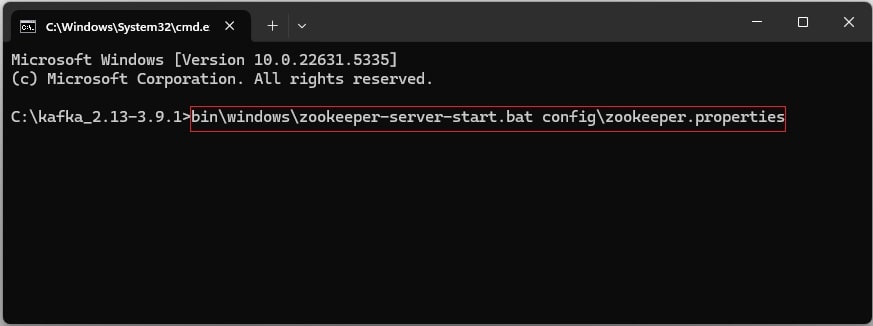
Step 3.2: Start Kafka Server
Now, open another Command Prompt and navigate to the Kafka home directory, and execute the following command to start the Kafka server:
bin\windows\kafka-server-start.bat config\server.properties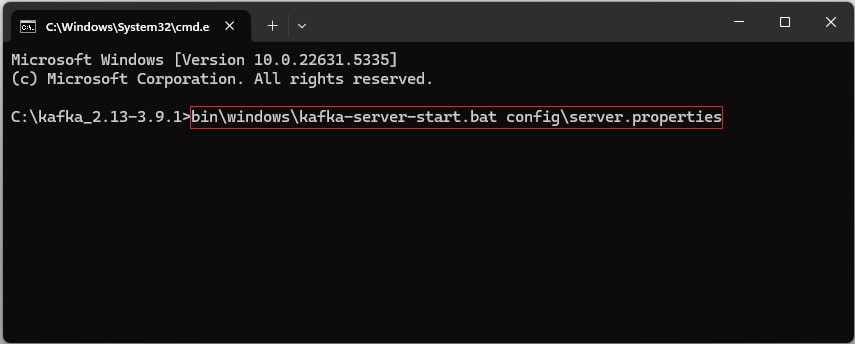
If everything works, you’ll see logs ending with:INFO [KafkaServer id=0] started (kafka.server.KafkaServer)
Step 4: Create a Kafka Topic
Open another Command Prompt and run the following command to create a Kafka topic:
bin\windows\kafka-topics.bat --create --topic quickstart-events --bootstrap-server localhost:9092To verify, run the following command:
bin\windows\kafka-topics.bat --describe --topic quickstart-events --bootstrap-server localhost:9092
Step 5: Produce Messages to the Topic
Use Kafka’s console producer tool (kafka-console-producer.bat) to send messages:
Run the following command:
bin\windows\kafka-console-producer.bat --topic quickstart-events --bootstrap-server localhost:9092After running the command, type your messages. For example-
This is my first event
This is my second event
Hit Enter after each message. Use Ctrl + C to stop.

Step 6: Consume Messages from the Topic
In another Command Prompt window, run the following command to consume messages:
bin\windows\kafka-console-consumer.bat --topic quickstart-events --from-beginning --bootstrap-server localhost:9092You will see all the messages that were produced earlier:

Useful Kafka CLI Commands
Here’s a cheat sheet of the most-used CLI commands on Windows:
| Action | Command |
|---|---|
| Create topic | kafka-topics.bat –create –topic my-topic –bootstrap-server localhost:9092 –partitions 1 –replication-factor 1 |
| List topics | kafka-topics.bat –list –bootstrap-server localhost:9092 |
| Delete topic | kafka-topics.bat –delete –topic my-topic –bootstrap-server localhost:9092 |
| Produce messages | kafka-console-producer.bat –topic my-topic –bootstrap-server localhost:9092 |
| Consume messages | kafka-console-consumer.bat –topic my-topic –from-beginning –bootstrap-server localhost:9092 |
Step 7: Stop Kafka and Zookeeper
Use Ctrl + C in both Kafka and Zookeeper Command Prompt windows to stop the servers. You can also manually kill the Java processes via Task Manager if needed.
Troubleshooting
| Issue | Solution |
|---|---|
| Java is not recognized | Make sure producer sent messages to the correct topic, and the consumer used --from-beginning flag |
| Kafka won’t start | Check if port 9092 is already in use. Stop other services or change the port in server.properties |
| Consumer shows nothing | Make sure the producer sent messages to the correct topic, and the consumer used --from-beginning flag |
What’s Next?
You’ve successfully installed Kafka 3.9.1 on Windows and produced and consumed messages using the CLI.
Now that you have Kafka running, move on to:
✅ Writing Your First Kafka Producer and Consumer in Java
✅ Understanding Kafka Topics, Partitions, and Offsets
✅ Kafka Setup with Spring Boot
Conclusion
Running Kafka on Windows is a great way to get hands-on with distributed messaging locally. Whether you’re building microservices or streaming pipelines, mastering the command-line interface (CLI) is the first step toward becoming a Kafka expert.
If you found this tutorial helpful, consider sharing it or dropping a comment below! 👇
🔁 Want to revisit the lessons or explore more?
⬅️ Return to the Apache Kafka Tutorial Home PageWhether you want to review a specific topic or go through the full tutorial again, everything is structured to help you master Apache Kafka step by step.
